Before you look at any of the pictures below or read any text, I want you to know I do not believe any of these photos are award winning. I took them as practice while trying to learn what my camera is capable of.
I am embarrassed to say that for most of my life I haven't know what many of my camera settings were. I didn't understand Aperture or ISO. Of course, I knew what Shutter Speed is, but not what to do with it. For the last couple of weeks I have been watching online classes about photography and travel photography. I don't know if I am a better of a photographer, but I sure am a more knowledgeable one.
This week, I practiced a little bit. The weather was nice, and I didn't have any excuses to stay inside. I went to Trustom on Monday. There I played with the Aperture Priority on my camera. In case you are like me, and don't understand what Aperture is I'll explain.
Aperture is the amount of a photo that is in focus. Aperture is measured in F-stops. The lower the number (like F2.8 or F4) the less of the photo will be in focus. Conversely, the higher the number (like F16 or F22) the more the photo will be in focus. You are probably asking "shouldn't you want the entire photo in focus all the time?". The answer is no. Truthfully, more often than not, the opposite is true. I'll give some examples. Obviously, I take a lot of photos of birds. Lets say I get a nice close up of a bird in a tree. I want that bird to stand out. So if the bird is focused but the background blurred it will stand out more. If every leaf is in focus and every branch the background could look too "busy". The same is true of portraits of people, if you take someones photo at a park, they will look much better (sometimes) with a blurred background than they would with focused trees, powerlines, etc behind them.
On the other hand, there are times you want everything in focus. If your taking a photo looking down busy tourist street you might want to read every sign on every building. If I come across a heard of elk in the distance, I want the entire herd in a field focused.
Now, as I said, I just learned this, but luckily auto-focus on my camera knows these things. Auto-focus can adjust and correct on the fly. You can take beautiful photos and never turn the dial off of auto. However, we have all looked at photos and didn't like it for some reason. I know I have. Sometimes I wish a bird was more in focus. Or I took a photo of a place and it looked too cluttered. If I would have changed my settings, maybe with practice I could have gotten the shot I wanted.
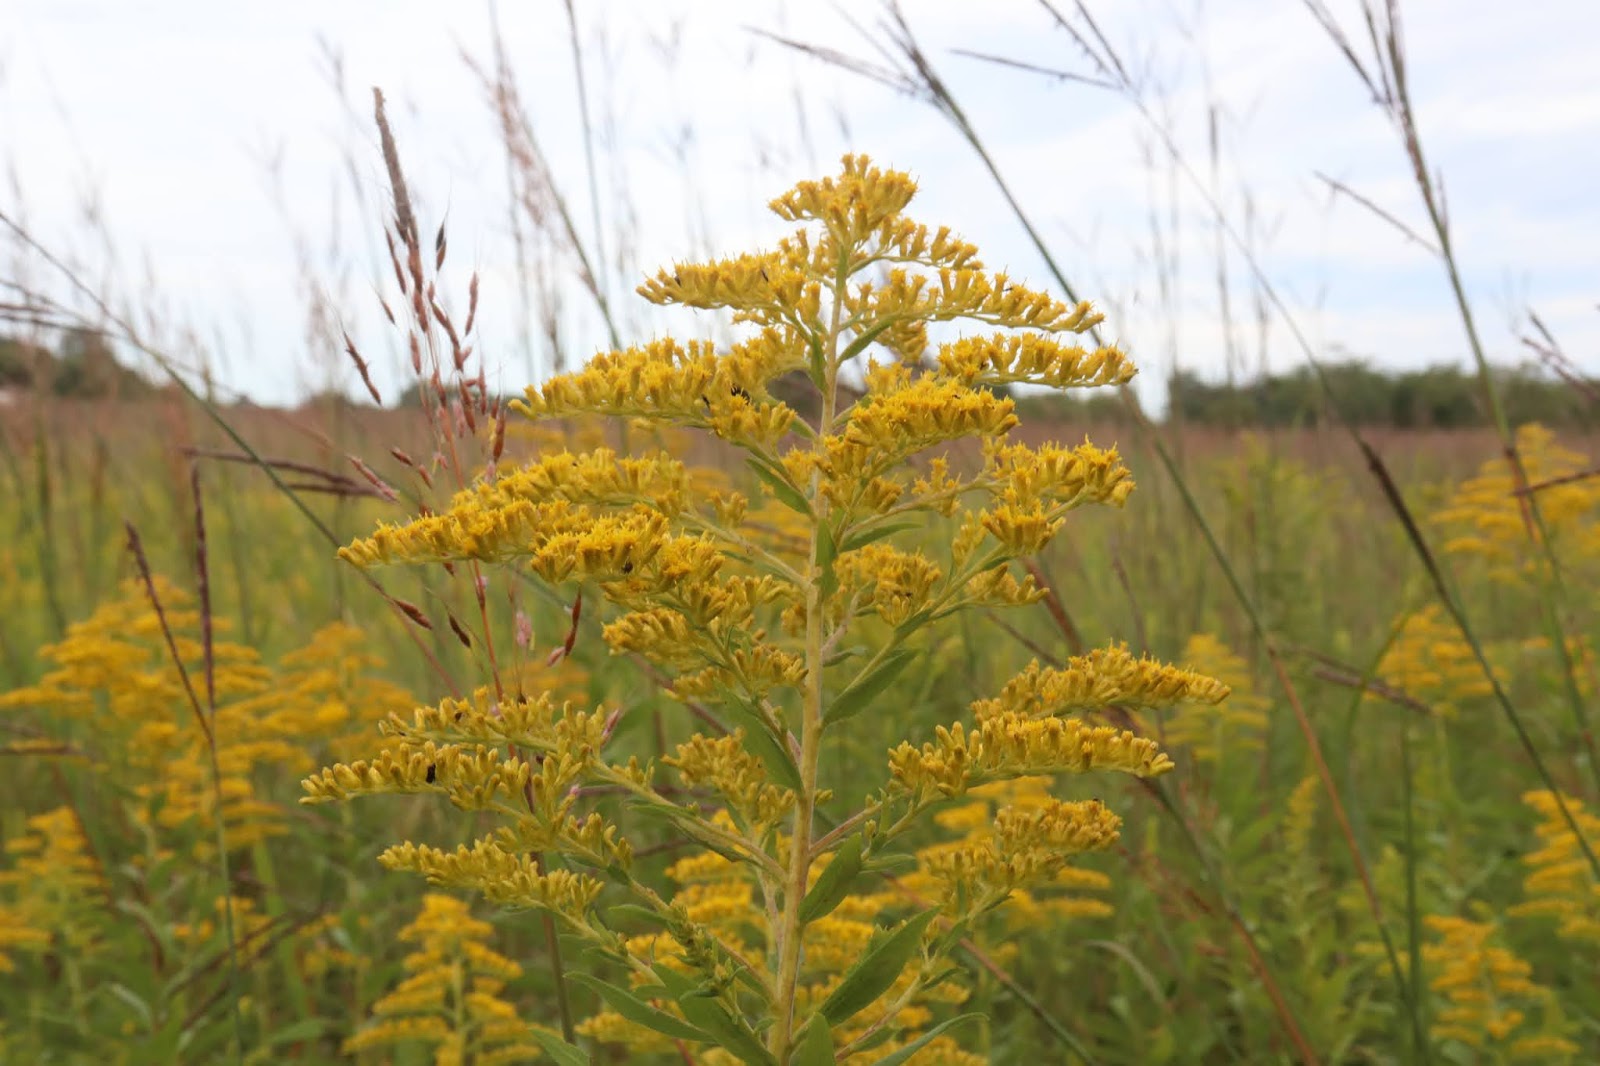
Below are some photos of Goldenrod and Milkweed I took at Trustom with different F-stop settings. You can see how the background is more or less in focus. I was using my small lens so I could get close. In the photos, the Goldenrod and milkweed may seem to be different distances in different photos. But the truth is, I was right next to both. The distance couldn't have been more than a couple inches as I might have straightened my neck. That isn't the point anyway, the difference in the background is.
Below the Goldenrod and Milkweed are photos and an explanation playing with Shutter speed.
 |
| F5.6 Notice how blurry the background is. |
 |
| F7 |
 |
| F25 |
 |
| F4 |
 |
| F5.6 |
 |
| F20 Those trees are 60 yards away and you can almost see the detail of each leaf. |
 |
| F4 |
 |
| F8 |
 |
| F20 |
Shutter Speed is how long your shutter is open when you take a photo. For a moving object like a person running, you want a very fast Shutter Speed or else the person (or in my case all the time, flying bird) is blurry. You need a lot of light for a high shutter speed because the hole that lets in the light is only open for a tiny amount of a second. On the other end, if you are photographing near dark, you need a slower shutter speed so the hole is open longer and lets in more light. The one problem with a slower shutter speed is camera shake. No matter how steady you think your hands are you are not perfect. A camera shake will make a photo come out blurry.
Last night I went for a bike ride in Lincoln. I stopped at one of the dams that creates a waterfall. My goal was to create the flowing effect you see in photos of moving water. The light was okay on the whole fall. However, I noticed a Great Blue Heron in the middle of the spillway. It was pretty far away so I had to zoom in, I lost most of my good light. I really didn't care. I was just practicing. I started with a slow shutter speed and moved up. I only played around for a few minutes because I got a phone call and had another five mile ride back to my car. Still, I learned a couple things. See below
This photo was taken with a 1/4 second shutter speed. I took three at this speed and this was the clearist. What did I learn? One quarter of a second is too long to hand hold a camera without shake

The photo below is at 1/8 of a second. It's pretty clear. The water has the flowing motion I was hoping for

Below 1/15 of a second

1/60 of a second. The water has a little more detail

This photo was taken at 1/1000 of a second (yes three zeros) Notice how you cans see individual droplets. The water was basically frozen in time

Lastly, this one below is at 1/2000 of a second. The water is the same. I doubt anyone can distinguish bits of time that small. But the camera did. Notice how it is darker than the photo above. It did not let in as much light and it shows. The light was the same. Both photos were taken 5 seconds apart and there wasn't a cloud in the sky.

No comments:
Post a Comment