 |
| Besides a saw, this is everything needed to make a baiting needle |
How to Make
a Baiting Needle
One of the
things those new to carp fishing find surprising is that we do not put the corn
on the hook. We put the corn on a “hair rig” leaving the hook completely
exposed. You can, and many people do, put corn directly on a hook, but everyone
that carp fishes regularly use hair rigs
The problem
is, how does one gets the corn on the hair? We use what is called a baiting
needle. There are two types of baiting needles. One has a crochet needle. It
has a small hook at the end to hold the line. The other is a simple barb to
hold on the line.
Baiting
needles are very inexpensive. The ones I use are only about $1.29. I think the
expensive ones are about four dollars. The problem is for most of us, baiting
needles are only available online. I have never seen one at a tackle shop. I
usually pick up a couple every time I buy carp gear. Unfortunately, just buying
baiting needles is expensive because of shipping. Since most online stores
charge a minimum $6 shipping cost, it is financially unsound to buy a couple
baiting needles and pay the shipping.
 |
| Cut the dowel into two and a half to three inch pieces |
The other
day I broke my last baiting needle. There was no way I was going to buy five
baiting needles and spend just as much in shipping. So I decided to make my
own. It was very simple to make some. I made four in about a ten minute period.
I’ve tested them out. So far I find them to be very functional working just as
well as the store bought ones.
Materials
needed
 |
| A dowel with a hole drilled into it |
Some sort of epoxy or glue
Size 2 long
shank (Aberdeen hooks)
Drill
file or sandpaper (optional)
pliers3. Drill a hole in one end with a very small drill bit. I drill a hole about ½ inch
4. With pliers straighten out the hook as best you can. I put the pliers as close to the barb as I can and straighten the long end. Be careful not to crush the barb because the barb is the most important piece of the finished product.
5. Put a small amount of glue on the eye end of the hook, Get some in the eye and the first half inch.
6. Put the eye in the hole of the dowel and push down as far as you can. Let dry.
I use Gorilla Glue. The reason is, Gorilla glue expands as it
dries. While its drying in the dowel it expands so much it locks the hook in
place.
 |
| These are the hooks I used to make the baiting needles |
 |
| Put a hook in the pliers as close to the barb as you can With your other hand straighten the shank |
 |
| The hook won't be perfectly straight, just do your best |
 |
| Use some epoxy or glue. Put it on about a half inch of the eye end of the hook. Then stick the eye into the hole of your dowel |
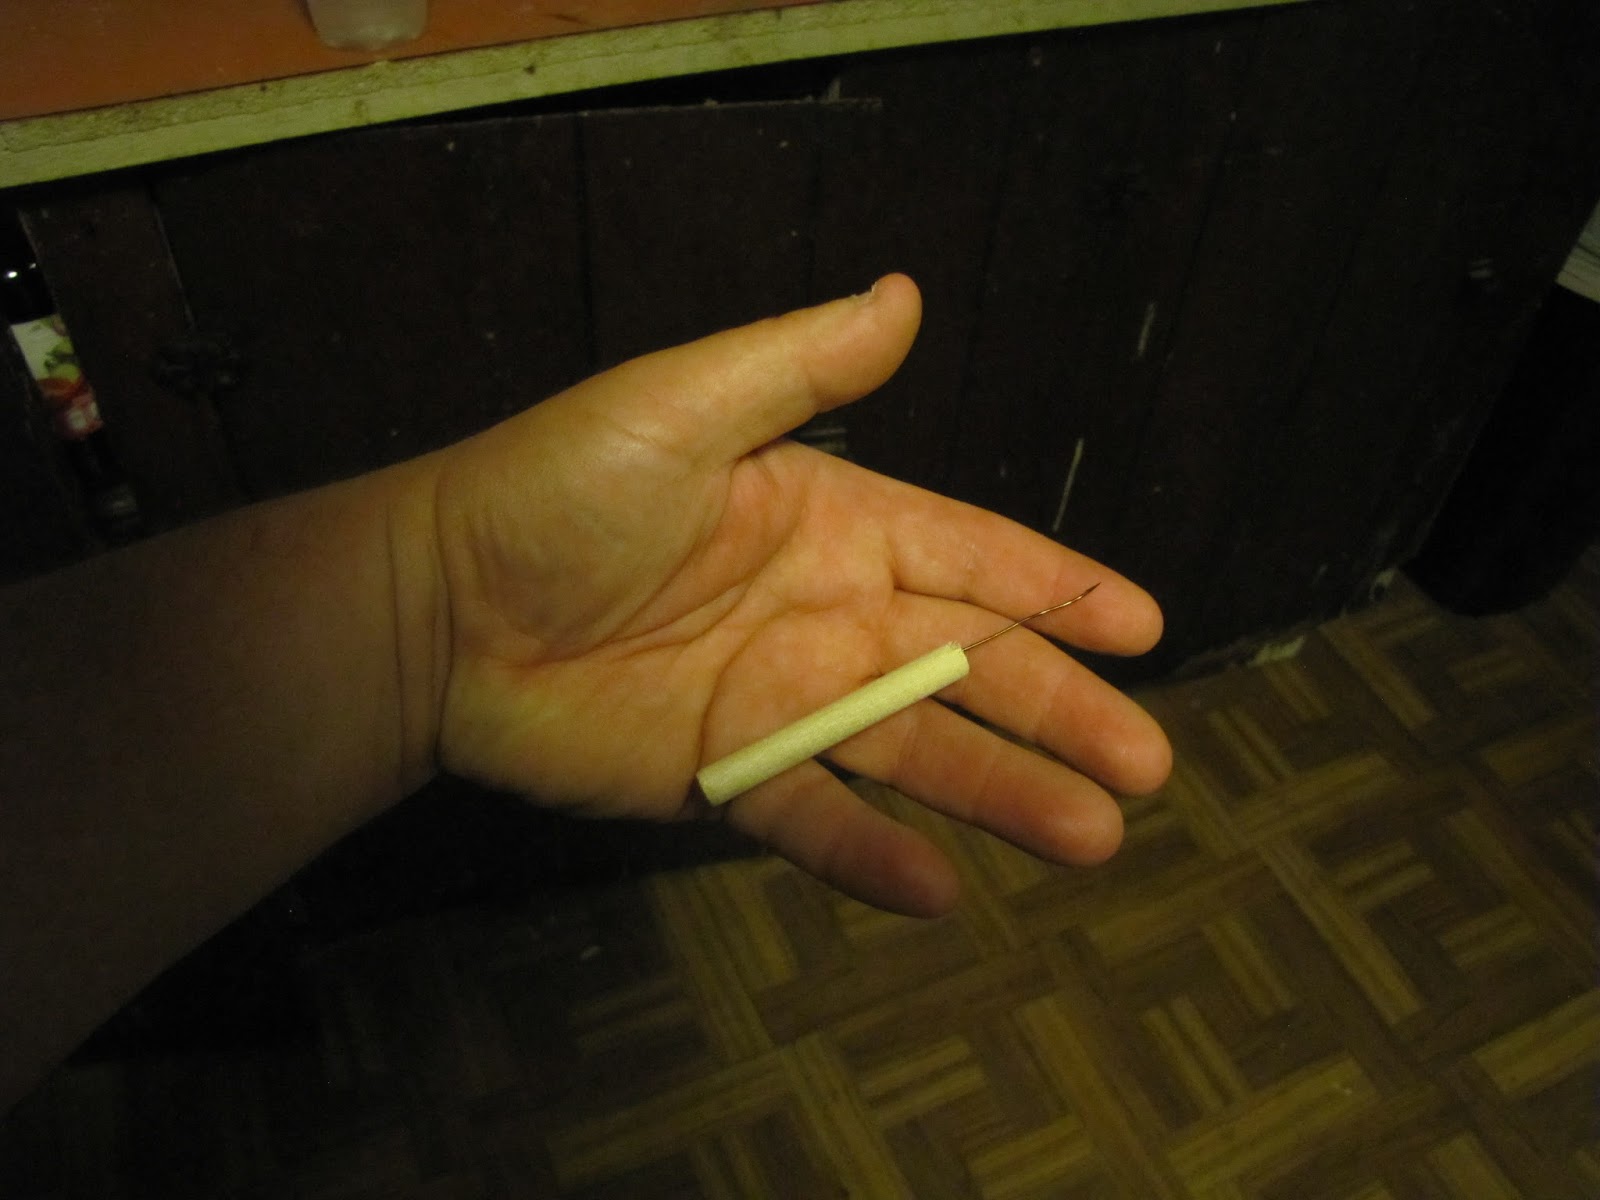 |
| The finished product |
No comments:
Post a Comment